From Real to Surreal in 10 Steps
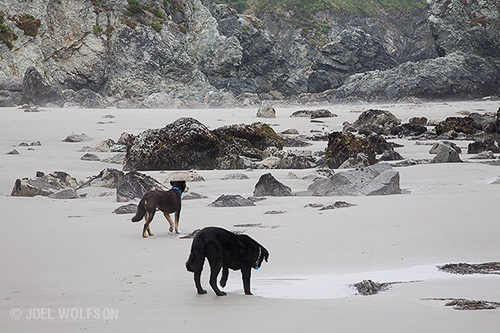
Normally I go to great lengths to capture and present my subject as I saw it. My approach is based on realism when communicating the experience; whether the awe of a beautiful landscape, the intrigue of ancient architecture, or conveying the essence of a person in a portrait.
What happens if you take this concept to more of an extreme and go beyond realism? I’ll show you how I turned the realistic image above into the surreal fantasy image just below. It started as a photo of my two dogs exploring tide pools on their first ever visit to the ocean (above.)
It took 10 steps using Lightroom, Photoshop, and two Topaz plugins: ReStyle and Glow, to create the image below. The beauty of these 2 plug-ins is they have so many presets from which to choose. So if you haven’t learned the plugin yet, you can basically try push-button effects until you find one that fits your image.
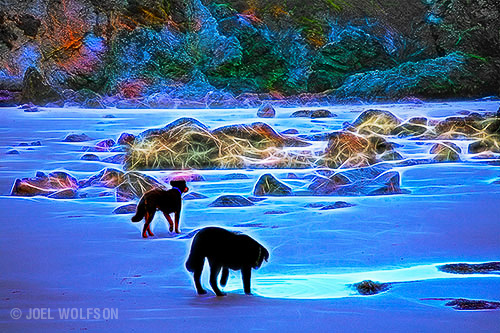
Here are the steps I used to create it
1. RAW is blah.
I start in Lightroom and adjust the RAW file to bring it back to a natural state as you see in the first image above. For those not accustomed to working with RAW files, the images come out of the camera looking somewhat flat and require some adjustments to make them look more like the original scene. Typically RAW files require some increase in contrast and/or clarity, a bit of saturation, and of course, capture sharpening. These everyday tasks can also be done in Photoshop and/or using plugins such as Topaz’s Clarity and Detail.
2. Photoshop
After bringing the adjusted image into Photoshop I duplicate the Background layer (Cmd-J/Cntl-J). I relabel the layer “ReStyle.” I always label my layers with something that indicates what I did with it, so I know if I need to go back to a particular layer and change it or just want to remember what I did. I make sure to select that layer and go up to my Filter menu and pull down to Topaz Labs > Topaz ReStyle launching me into the ReStyle plugin.
3. ReStyle
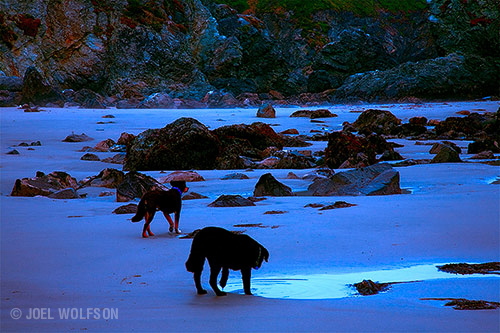
In ReStyle I click on the Night collection in the upper left and choose the preset Electric Blue Lights, click OK in the lower right and that saves the preset back into the layer in Photoshop, yielding this:
4. Layer mask
I make sure my “ReStyle” layer is selected. I create a mask in this layer by going up to the Layer menu and pull down to Layer Mask > Reveal All (or simply click on the Layer Mask icon at the bottom of the Layers palette.) I select the layer mask by clicking on it and then select the brush from the tool palette, choosing pure black as my foreground color (also in the tools palette.) With the brush selected I change the opacity (top left) to 30 percent and lighten the background rocks by painting the brush in those areas. The mask looks like this:
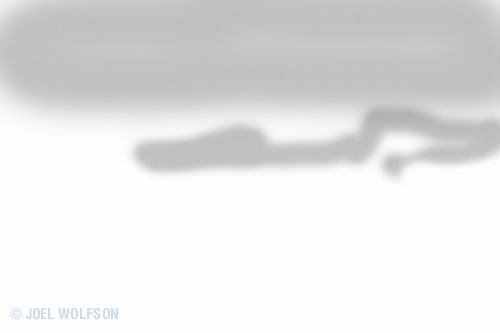
And now the image in this layer with the masking looks like this:

5. Merged layer for Glow
Because I want the net effect of what I’ve done to be the basis for using my next plugin, Glow, I make sure this layer is selected, and then hold down the Option key while selecting Merge Visible under the Layer menu. This creates a duplicate layer from the stack below it. I relabel this layer “Glow.”
6. Glow using blending mode
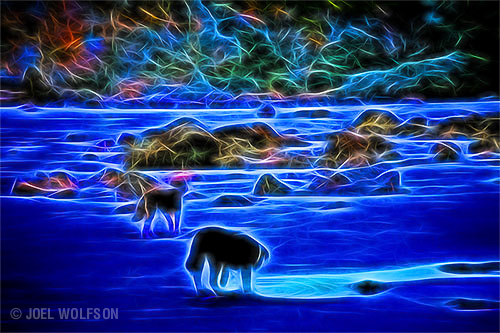
Once I’m in the Glow plugin I go to the drop-down menu in the upper right and select the Neon category of presets. I choose the Natural Neon III preset and the image first looks like this:
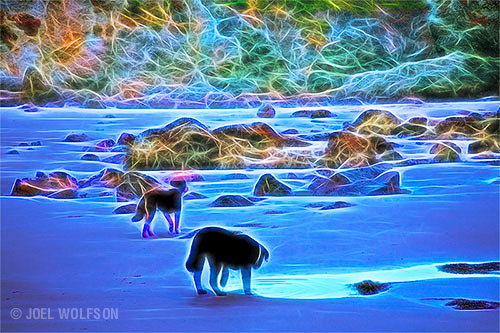
Then, before clicking OK and leaving Glow, I go to the bottom left to the Blend Mode pull-down and choose the Screen blending mode which has an overall effect of making the image lighter like this:
7. Layer mask in Photoshop
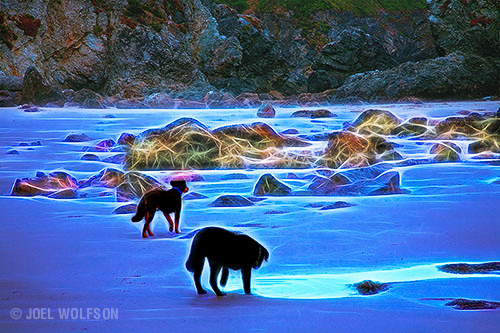
Although I like the look of the colored electrical charges in some of the photo, it’s a little too overpowering in the background rocks and tends to distract one from the main point of interest. So I create a mask in this layer and brush out the effect on everything but the beach and rocks just behind the dogs. This time I have set the brush for 100 percent opacity. The resulting mask looks like this:
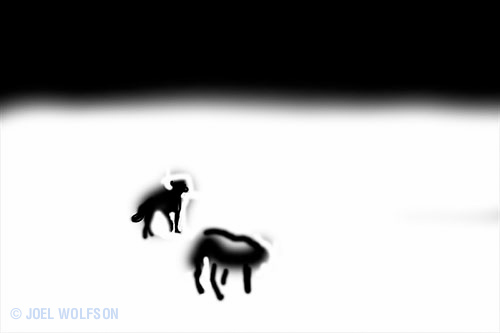
And the resulting masked image in this layer looks like this:
And now for the finishing touches…
8. Preparing for a trip to Glow
With the rocks back to a pre-Glow state they don’t fit the rest of the image so I bring them back into Glow and use the same effect as before but will ultimately make it much more subtle once I get it back into Photoshop in the last step. For now, like in step 5, I use the Option (Alt on PC) Merge Visible combination to duplicate the layer including the masking I just did. I relabel it “Glow- background” and launch into the Glow plug-in again.
9. Glow plugin for the background
Once again I choose the Neon category and select Neon Natural III but his time I leave it in the default Blend Mode of Normal. It doesn’t look much like what I have in mind but all I’m looking to do here is to use only the colors from the effect in Glow so I can make the background rocks fit in better with the rest of the scene. I have to mentally block out everything except the color in the background rocks. I click OK in Glow and am back in Photoshop with the image in my “Glow- background” layer looking like this:

10. Blending mode…mask…final image
The way I accomplish my task is two-fold: First I go to the pull-down menu in the layer palette just to the left of Opacity and change the blending mode in this layer to Color. As the name implies it only reveals the color information without all the neon effects. You might ask why I don’t use the blending mode in the Glow plug-in? The simple answer is that there isn’t a Color blending mode in the plug-in. But even if there were I would still do it in Photoshop because there are several layers and masks beneath this one that affect it (when you’re in Glow the blending mode is only affected by the base image with which you came into Glow). Here’s the image after changing the blending mode to Color:
Secondly I create a mask and use the brush tool (similar to Step 7) and mask out everything but the background rocks because that’s all I want to add with this layer. Here’s the mask:

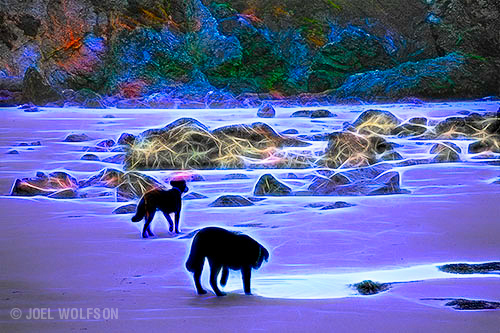
And Voila! Here’s my final image:

Behind the Image- A personal note
I titled this image “When I Am With Gypsy.” The dog in the foreground dipping her paw in the tide pool is Gypsy. She and Astro (the one behind her), were both rescues and the closest of friends. In people terms they adored each other and did everything together. Gypsy passed away a little over two years ago at the ripe old age of 15. Astro will be 15 in July and is showing her age. So the meaning of the title is a double one. It can bring tears to my eyes when I look at it.
Discount on the plugins
If you want to buy the Topaz Plugins I mentioned in this article, or any Topaz plugins for that matter, you can click here and use the discount code JWOLFSON at checkout to receive 15 percent off, including bundles.

Expanded Section
More examples and a how-to video
My goal when shooting is to tell a story, convey an emotion, or provide the viewer with the feel of being there. Below are more examples of taking that sense way beyond my usual realistic realm and having a lot of fun in the process. Below the example photos is a link to a video showing step-by-step how I created each one.
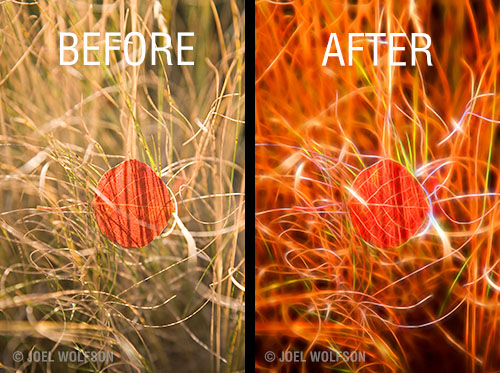
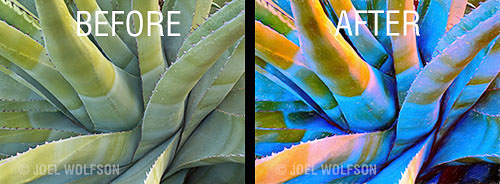
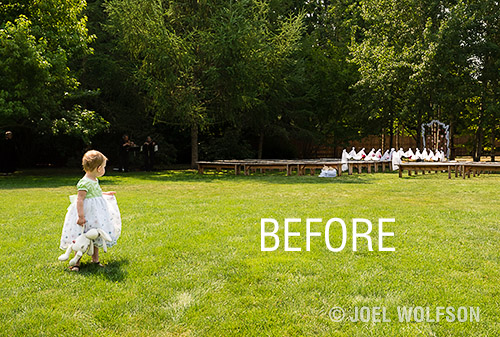
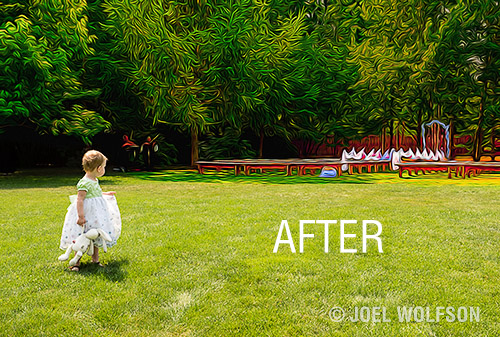
Click here for a link to a video to see how I made each of these images, step-by-step.
Hope you enjoyed this post,
Joel
Leave a Reply