Complex Masks Quickly in ON1 Photo Raw
(updated 31 March, 2021)
Artifical Intelligence Put To Good Use
AI Quick Mask in ON1 Photo Raw is a really useful feature for making intricate masks quickly using the in-built artificial intelligence.
It’s not that you couldn’t create almost any mask you wanted with the other masking tools in Photo Raw. ON1 has had a vast array of masking tools for some time but this really speeds things up and is easy and intuitive. The intelligence part of it looks at many aspects of your image, such as tone, color, and texture to identify the borders for your mask.
Bottom Line First
This feature is quite useful. If you do a lot of masking this tool is a great place to start. I don’t advocate buying a whole program or a major upgrade on just one tool, albeit a pretty cool one, but if you read my review of Photo Raw 2019 you’ll see this is a nice feather in ON1’s cap for a mature image processor with good organizational capabilities. You can download a free trial if you want to try it before you decide whether to buy it or not.
If AI Quick Mask tips the scale for you, use the coupon code JWPHOTO and lower your price of upgrade or new purchase by 20% (if it’s already on sale my discount code may not lower the price below the sale price.)
How It Works
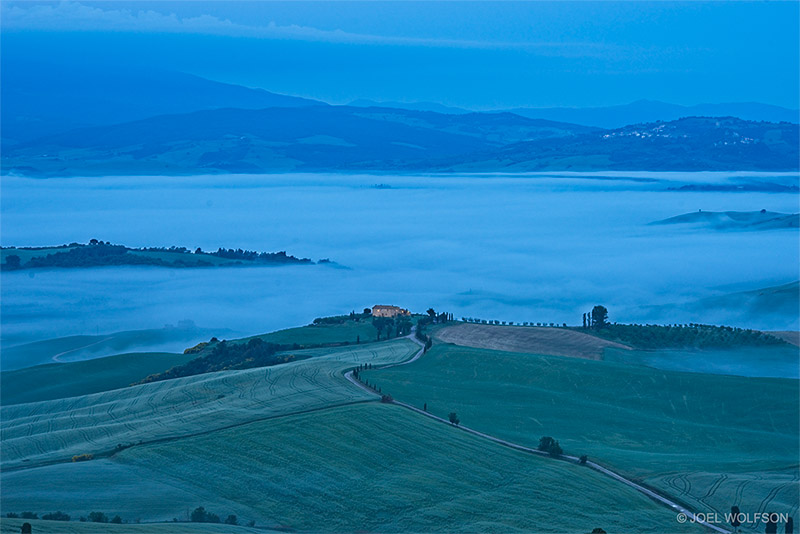
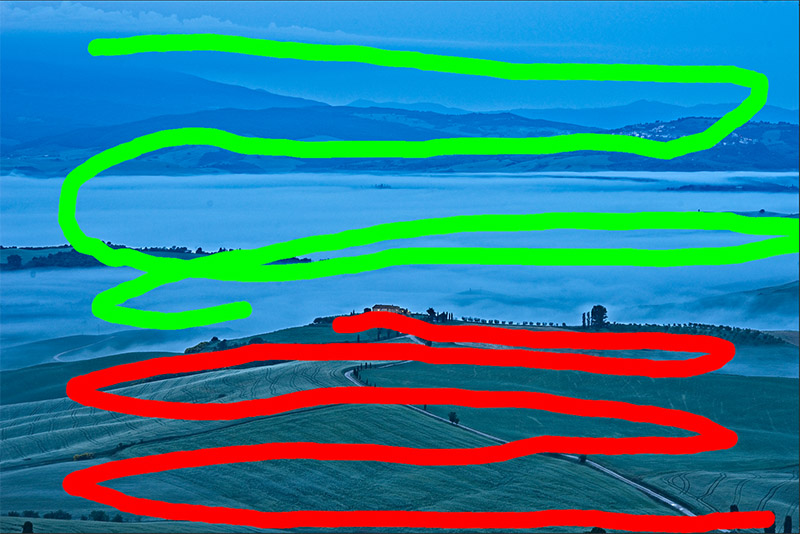
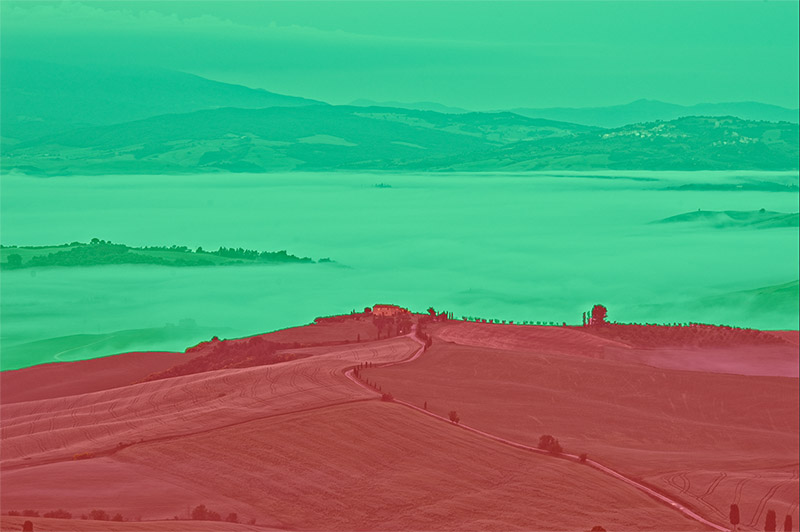
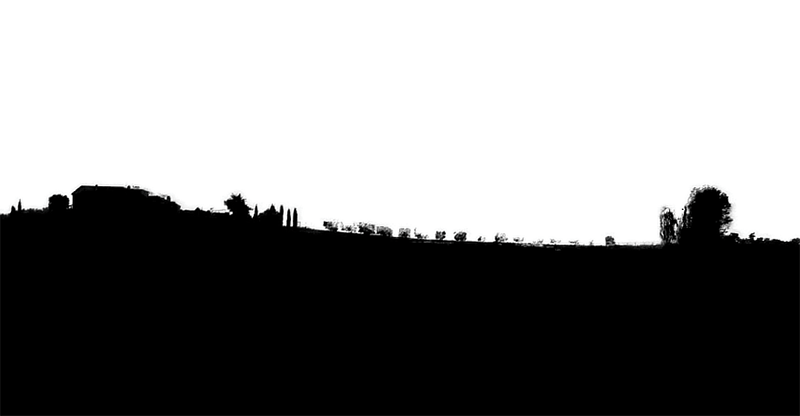
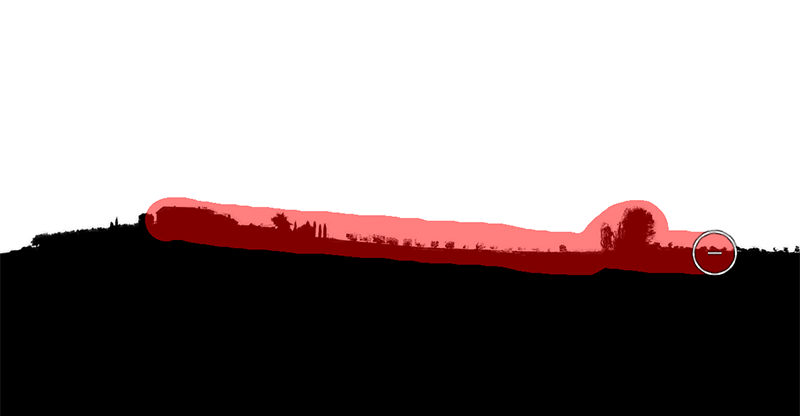
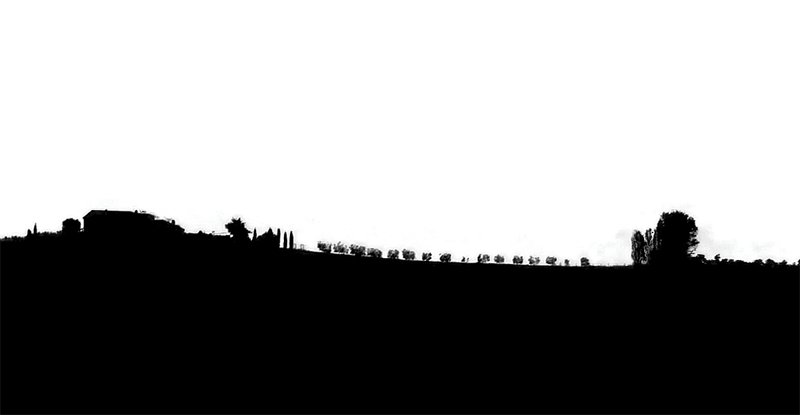
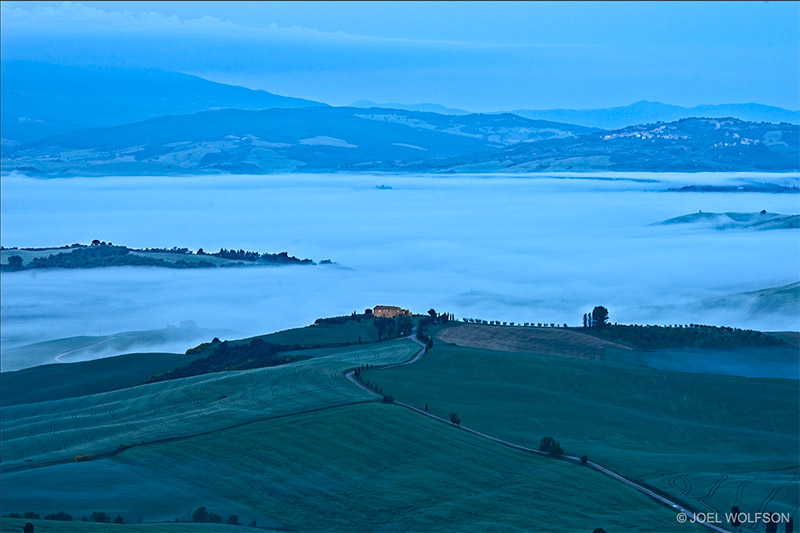
Below is a pre-dawn image I captured that requires masking so I can adjust the mist in the background separately and with different settings than for what I want to do with the foreground. The transition/horizon has lots of fine detail like trees and bushes, the villa, and the mist. Quick Mask A.I. greatly speeds up the task over using the masking tools available up until now.
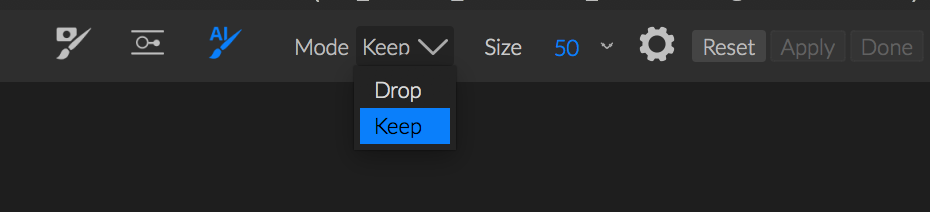
The video above and sequence of images below show how I used ON1 Photo Raw’s AI Quick Mask to quickly create an intricate mask.
Conclusion
AI Quick Mask is a welcome and useful tool. Personally I do this kind of masking often and although the rest of the masking tools in ON1 Photo Raw are extensive, this really speeds up the process of making complex masks. Although it does a great job, one still needs the Refine tool. And of course there are many other tools in Photo Raw to tweak your mask when necessary. The lion’s share of the work is still done by Quick Mask AI with the net result being a big time savings.
Happy Shooting,
Joel

Joel Wolfson is an internationally published photographer who loves teaching as much as shooting. He shares his 30 years of experience as a working pro with other photographers and enthusiasts by way of his workshops, 1 on 1 training, webinars, articles, blog and speaking engagements. His technical articles have been translated for use in more than 30 countries yet he is best known for his artistic images of nature’s fleeting moments and unexpected views of everyday places around the globe. He is one of the pioneers of digital photography having conducted digital photography seminars for Apple and other corporations starting in the early 90s. His roster of notable clients includes numerous publications and fortune 500 companies. He currently works with great affiliates like Arizona Highways, Topaz Labs, ON1, and Skylum to have more avenues for working with those wanting to pursue their love of photography. His goal is to make learning and improving one’s photography easy, fun and rewarding.
Disclosure about product links and affiliations: Some of the links I provide are affiliate links which means I get a small commission, with no additional cost to you, if you click it and end up buying something. It helps keep the lights on as well as supporting this blog and my other free educational resources and articles. So if you use them, thanks! It is always my goal to report my results in a straighforward manner whether or not it favors a particular product.
Thanks Joel
Great tutorial, on this new important feature.
Luc, glad you found it useful!
Thanks,
Joel
Many thanks Joel for your short tutorial, different of others which replace a sky.
Bernard
You’re most certainly welcome. I’m glad it was useful!
Cheers,
Joel
Very fine video. Clearly explained–direct to the point. Thank you. From what I saw, you are an excellent instructor. I signed up for your newsletter–I’m looking forward to hearing from you. I use Photo Raw 2021, Topaz products, Luminar AI, Affinity products on a Mac. I’m going to watch your other tutorials. I appreciate your teaching very much. Thanks again Joel!
You’re welcome and thanks so much for the kudos. I’m glad you found the video useful. If you didn’t know it already you can also subscribe to my YouTube channel 🙂 It’s http://www.YouTube.com/JoelWolfsonPhoto
Happy Shooting!
Joel